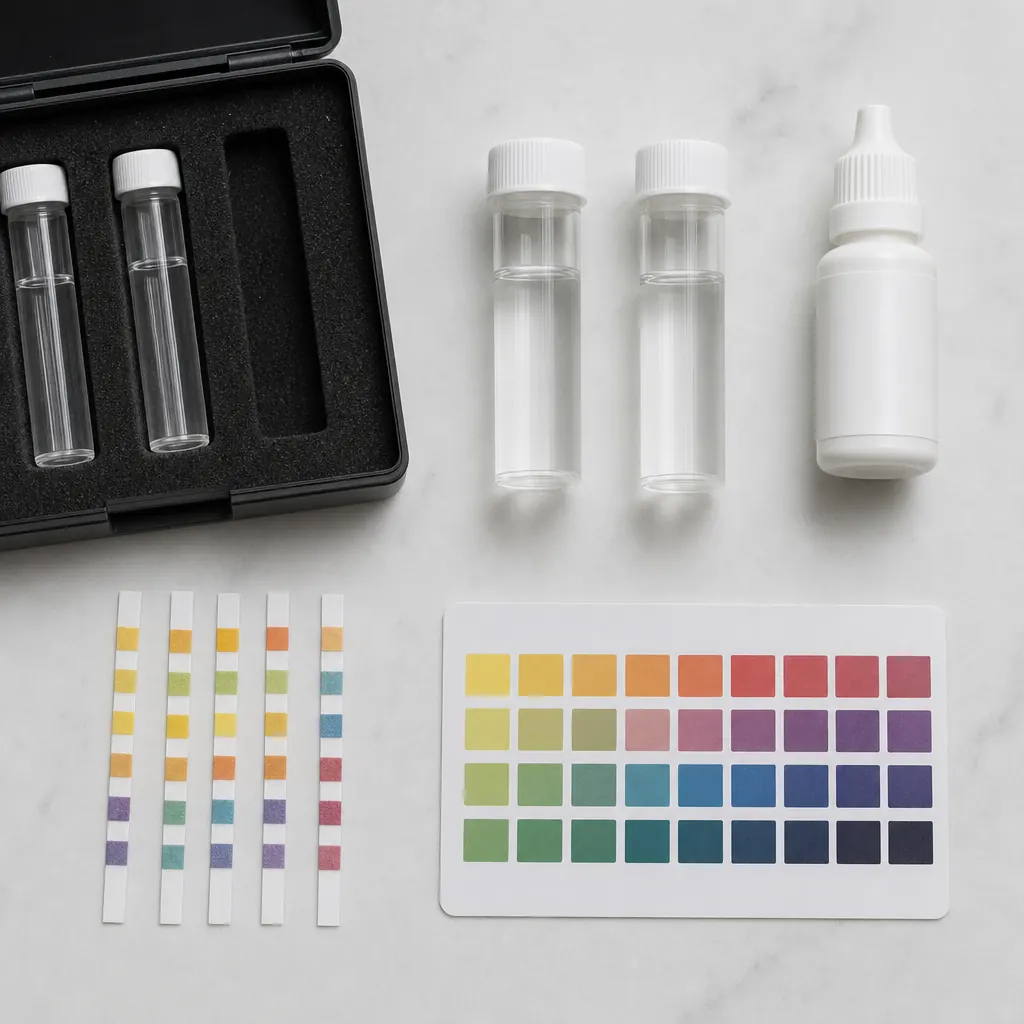
Quick answer: You can test water hardness three ways — a cheap test strip (a GPG read in under a minute), a titration drip kit (more precise, for sizing equipment), or a certified lab panel (most accurate, also flags other water issues). For most people, the free utility report or a $10 strip is all you need to know whether a softener makes sense.
Knowing your actual hardness number — not a guess, not a national average — is the step that turns a softener purchase from a leap of faith into a decision. Here’s exactly how to get that number, what each method costs, and how to interpret what you find.
Why test instead of going by feel or geography
Two reasons. First, hardness varies by source and season, so even within one city your tap can differ from the “city average.” Second, every softener-sizing formula starts from your GPG — if you size to the wrong number, you either overpay for capacity you don’t need or undersize a unit that regenerates too often and wastes salt.
The signs of hard water are suggestive but not precise: white scale on faucets, spots that survive the dishwasher, stiff laundry, poor lather. They tell you you’re probably hard; they don’t tell you how hard. Testing gives you the number.
Option 1 — Your utility’s Consumer Confidence Report (free)
Before spending a dollar, check the free source. Every U.S. community water system must publish a Consumer Confidence Report (CCR) annually, and many list hardness (usually in ppm or mg/L). It’s the authoritative figure for your service area.
- How: search “[your utility] water quality report [year]” or find it on your city’s water department page. (How to read your water quality report walks through what’s inside.)
- Cost: $0.
- Accuracy: authoritative for the utility’s blended water, though it may be an annual average rather than your neighborhood’s live value.
If the CCR doesn’t list hardness (not all do), move to an at-home method.
Option 2 — Test strips (about $10, under a minute)
The fastest DIY method, and the right first step for most households. Strips — like common hardness test strips — come with a color chart.
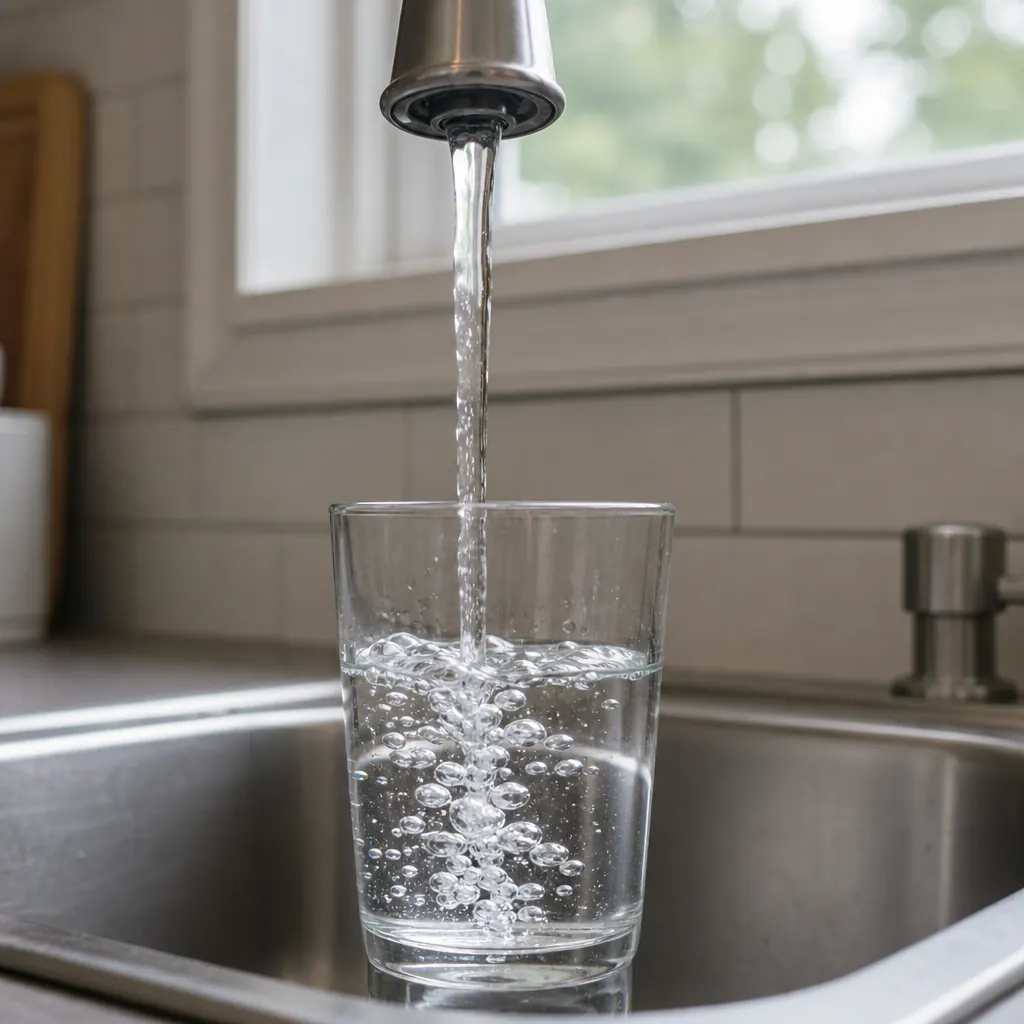
- Run the cold tap for 30 seconds to clear standing water from the pipes.
- Fill a clean glass with a fresh sample.
- Dip the strip for the time listed on the bottle (usually a few seconds).
- Compare the pad color to the chart to read GPG or ppm.
Strips are accurate to within a grain or two, which is plenty for the decision you’re making. (Best water testing kits compares what’s worth buying.)
Option 3 — Titration / drip kits (more precise)
If you’re about to size a softener and want a tighter number, a titration kit is the next step up. You add a reagent drop by drop to a water sample until it changes color, then count the drops to calculate hardness.
- Pros: more precise than strips, reusable, no color-chart guesswork.
- Cons: a bit more hands-on and a few dollars more.
This is the method to use when the strip lands you right on a tier boundary (say, ~7 GPG) and the exact number changes whether you buy a softener or a simpler conditioner.
Option 4 — Certified lab test (most thorough)
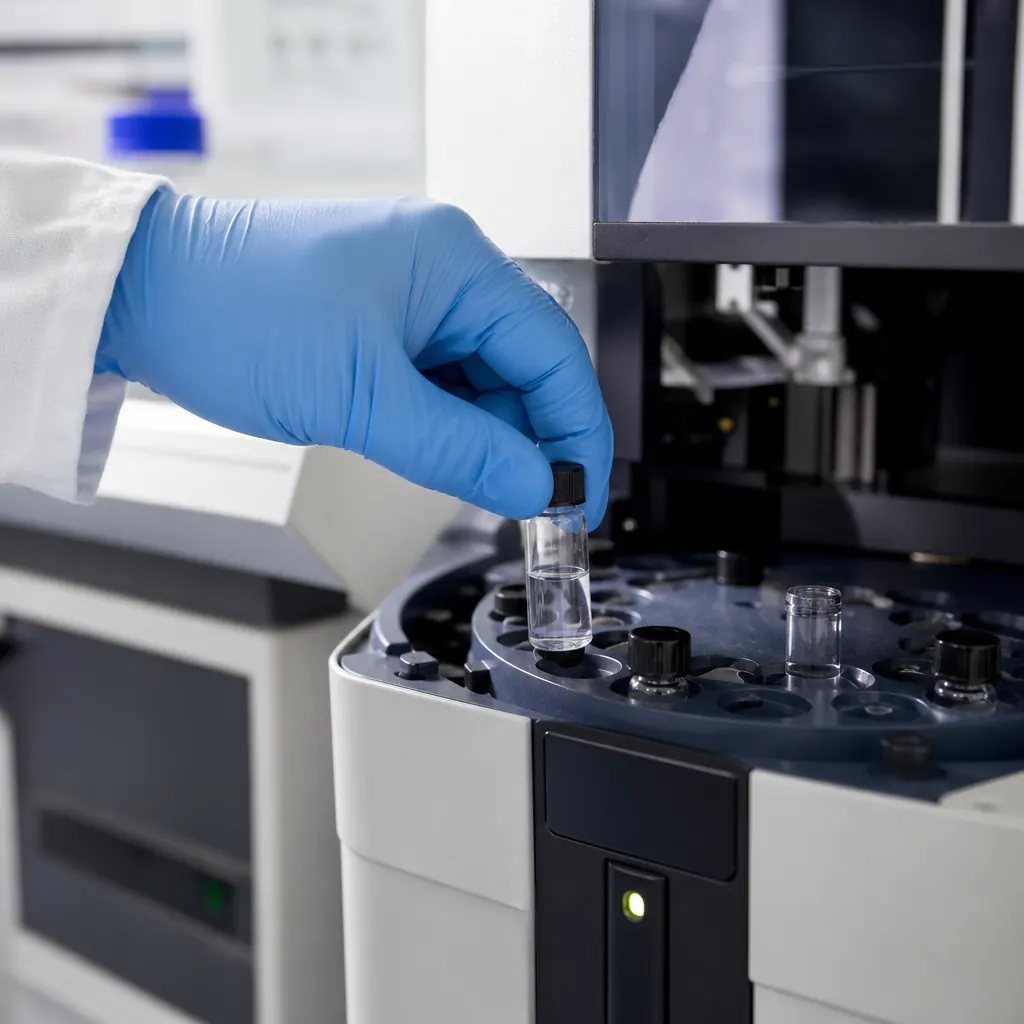
If you’re on a private well, or you want the complete picture, send a sample to a certified lab. Hardness is only one line-item — a lab panel also tests iron, manganese, bacteria, nitrates, and other parameters that change your treatment needs entirely (high iron, especially, means you may need an iron filter alongside a softener).
Wells shift with the water table and weather, so the CDC recommends testing private wells annually, and more often after heavy rain or nearby construction. Municipal customers rarely need this level of testing for hardness alone — but it’s the right call for a well.
Reading your result
Take your GPG (or convert ppm ÷ 17.1) and place it on the scale:
| GPG | Tier | What to do |
|---|---|---|
| under 3.5 | Soft | No treatment needed. |
| 3.5–7 | Moderate | Conditioner or softener optional; watch for spotting. |
| 7–10.5 | Hard | Softener likely pays off in appliance life. |
| over 10.5 | Very hard | Softener strongly recommended. |
Then let that number — not a sales pitch — decide. (Hard water vs soft water explains what each tier means day to day.)
A note on TDS meters
A TDS meter measures total dissolved solids — everything in the water, not just calcium and magnesium. It’s a fine relat
Where to take the sample (it matters)
Your choice of tap changes the answer, and getting this wrong is a quiet source of confusion. Two rules:
- Use the cold tap. Hot water has been sitting in the water heater — where scale has already precipitated out — so it’ll read lower than your actual incoming hardness. The heater is literally strips hardness out of the water; test cold, always.
- Flush the line first. Water sitting in your pipes overnight can carry metals leached from your own plumbing (especially in older homes). Run the cold tap for 30–60 seconds before filling the sample so you’re measuring your water supply, not your pipes.
If you’re testing for lead or other leached metals specifically, the opposite is sometimes recommended (first-draw sample, no flush) — but for hardness, flush and test cold.
Testing on a well vs municipal supply
The testing approach differs by source, and it’s worth being explicit:
- Municipal water — your utility already tests constantly. Your job is narrower: find the hardness number (CCR or a strip) and decide on treatment. A single hardness strip a year is plenty.
- Private well — you are the water utility. Hardness can shift with the water table, rainfall, and season, so test at least annually, and ideally twice a year, plus after heavy rain or nearby well/construction activity. On a well you’re not just testing hardness — you want iron, manganese, pH, nitrates, and a bacteria screen, which means a lab panel, not a strip.
The CDC’s guidance on private wells is the authoritative frame: test annually at minimum, and treat any change in taste, color, or odor as a prompt to retest.
What to do once you have your number
The test result feeds directly into one of three paths:
- Under ~3.5 GPG (soft) — you’re done. No treatment needed; save your money.
- 3.5–7 GPG (moderate) — optional. A salt-free conditioner handles spotting if it bothers you; a softener is defensible but not urgent.
- Over ~7 GPG (hard/very hard) — a softener starts to pay for itself. Use the number to size it correctly. (What size softener do you need?)
If your test also flagged iron, manganese, or bacteria (common on wells), that changes the picture: those need their own treatment, often ahead of or alongside a softener. One number rarely tells the whole story on a well.
Troubleshooting odd readings
A result that doesn’t match expectations usually has an explanation:
- Much softer than your area’s reputation → you may be drawing from a different source than the city average, or tested hot water. Re-test cold after flushing.
- Much harder than expected → possible iron interference (strips can read high with heavy iron), or you’re on a private source. A titration kit or lab test disambiguates.
- Reading jumps between tests → for a well, normal seasonal variation; for municipal, you may have tested during a source switch or maintenance. Re-test to confirm.
When in doubt, the lab panel is the tiebreaker — it gives a definitive, certified number that strips can only approximate.
The habit that makes this easy
Testing your water sounds like a chore until you realize it’s a ten-second, once-a-year task. The effortless version: pick a fixed date (say, every spring), run the cold tap, dip a strip, note the GPG. If it’s stable, you’re done until next year; if it moves, you’ve caught a change early — before it becomes a scaled-up water heater or a fouled well. Ten seconds a year buys you certainty that no amount of reading can.
Why your test might disagree with the city average
A common source of confusion is testing at home, getting a number, then finding it doesn’t match the “city hardness” you see published. This is normal, and there are four usual reasons:
- Different source — your neighborhood may draw from a different well or reservoir than the city-wide blend the published number reflects.
- Season — utilities shift source blends seasonally; your test is a fall snapshot while the published figure may be an annual average.
- Your plumbing — if you tested a cold tap that wasn’t flushed, or (worse) a hot tap, your result reflects water that’s been sitting in your pipes, not the supply.
- Iron interference — heavy iron in well water can skew a strip’s hardness reading higher than the true calcium/magnesium level.
None of these mean your test is broken. They mean hardness is a live property of your specific tap, which is precisely why your own measurement — done correctly — is more actionable for your household than any regional average. When a precise, defensible number is required (say, to size equipment or diagnose a discrepancy), a titration kit or a certified lab settles it.
Bottom line
Testing your hardness is cheap and fast — a free utility report or a $10 strip solves it for most homes. Get the actual GPG number, place it on the scale, and only then decide whether a softener, a conditioner, or nothing is the right move. Skip the guess; test first.