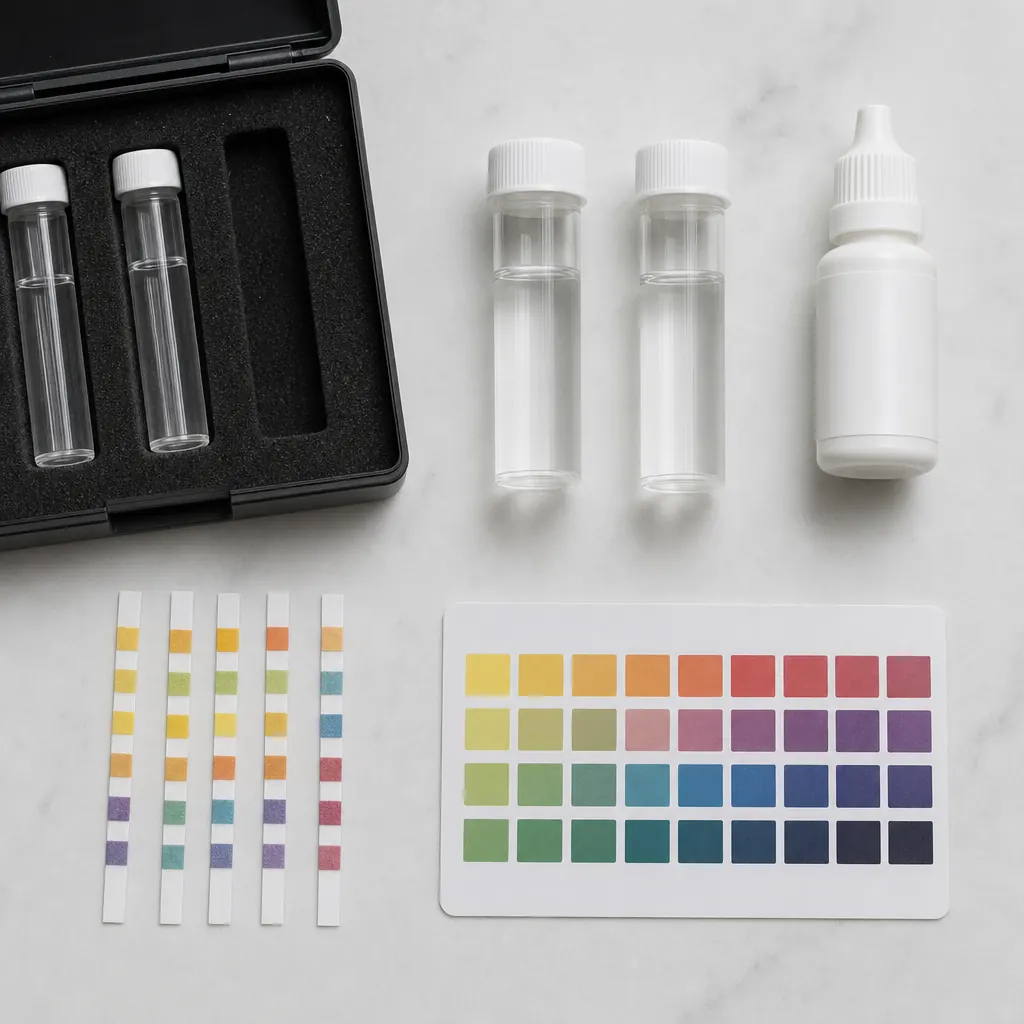
Quick answer: The right water test depends on what you’re after. For hardness alone, a $10–20 test strip does the job in under a minute. For a fuller contaminant picture — and especially for private wells — a certified lab panel you mail in is the most accurate and thorough choice, covering bacteria, heavy metals, and chemicals that home strips can’t reliably detect.
Testing is the step that saves you from the single most expensive mistake in water treatment: buying a softener or filter for a problem you don’t actually have. Here’s how to pick the right kit for your situation.
The three tiers of water testing
Water test kits fall into three clear categories, each suited to a different job.
- Test strips ($5–20) — dip-and-read pads for hardness, pH, chlorine, and a few other common parameters. Instant, cheap, accurate enough for tier-level decisions. Best first step for hardness.
- Titration / chemical kits ($15–50) — liquid-reagent tests where you count drops to a color change. More precise than strips. Ideal when you need an exact hardness number to size a softener.
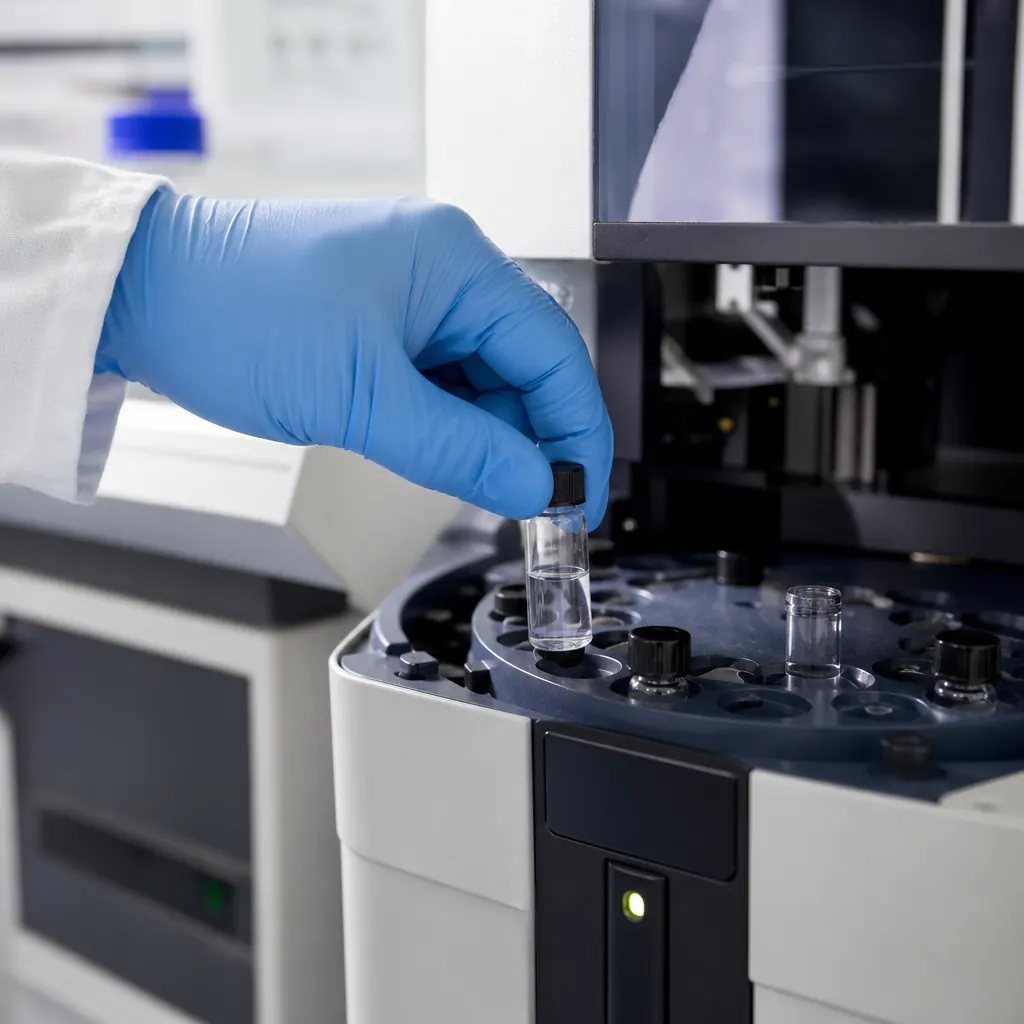
- Certified lab tests ($40–300) — you collect a sample with provided containers and mail it in. The most accurate, and the only reliable option for bacteria, precise heavy metals, and a full well panel.
Which tier you need is a function of one question: are you on municipal water or a private well?
If you’re on municipal water
Your utility already tests and publishes results in its annual Consumer Confidence Report — that’s your free, authoritative baseline. For municipal customers, a home kit is mostly for hardness (which the CCR sometimes omits or reports as an average) and for peace of mind.
- For hardness: a $10 test strip is all you need. Run the cold tap, dip, compare to the chart, and you have your GPG. (How to test your water hardness has the exact steps.)
- For a check on taste/chlorine/pH: basic multi-parameter strips cover it.
- For lead specifically: if your home has older plumbing, a dedicated lead test or lab sample is worth it, since lead comes from your pipes, not the utility’s end of the line.
If you’re on a private well
A well is your responsibility — nobody is testing it for you, and the CDC recommends testing private wells annually. Here a certified lab panel is the right call, not strips. Test at minimum:
- Hardness, pH, and iron — iron especially, since it changes which treatment you need alongside softening.
- Total coliform and E. coli — the bacterial indicators that require a sterile lab sample, not a visual strip.
- Nitrates — especially if you’re near agriculture or a septic system.
- Lead and arsenic — depending on regional geology and plumbing age.
Test twice a year and again after heavy rain or nearby disturbance, since wells shift with the water table.
What to look for in a kit
When comparing, these are the specs that actually matter:
- Parameters covered — a $10 hardness-only strip is useless if you need a bacterial screen. Match the kit to the question.
- Precision — strips give a tier; titration gives a number; a lab gives a certified concentration.
- Expiry — strips and reagents have a shelf life. Don’t trust a kit that’s been sitting for years.
- Certification — for anything safety-related, insist on a lab accredited for drinking-water analysis (in the U.S., check for state or NELAP accreditation).
An honest recommendation
We don’t push a single brand because the right kit is dictated by your water source and your question — but the decision tree is clear:
- “How hard is my water?” → a basic hardness test strip. Done.
- “What’s actually in my water?” (municipal, curious) → multi-parameter strips + your CCR.
- “Is my well safe?” → a certified lab panel, annually, no exceptions.
Spend the $10 on a hardness strip before you spend $1,000 on a softener. And if you’re on a well, don’t gamble on strips for the safety-critical stuff — send a sample to a lab. (Best whole-house water filters covers what to do with what you find.)
The three questions a test should answer
Before you buy any kit, get specific about what you’re trying to learn. Almost every water decision boils down to one of three questions, and each maps to a different kit:
- “How hard is my water?” → hardness strips (or the CCR, or a titration kit for precision).
- “Is it safe to drink?” → a contaminant panel; for wells, a certified lab panel covering bacteria, nitrates, and metals.
- “What’s making it taste/smell bad?” → a multi-parameter strip or carbon-focused analysis for chlorine, sulfur, and aesthetic parameters.
Answering the wrong question with the wrong kit is the most common waste here — buying a hardness strip when you’re worried about lead answers nothing.
Reading a test result without panic
A test result is only useful if you can put the number in context. Two habits prevent both false-alarm and false-comfort:
- Check the units. Contaminants are reported in ppm (mg/L) or ppb (µg/L) — and 5 ppb is a thousand times less concentrated than 5 ppm. Always confirm which unit you’re looking at before reacting.
- Compare to the right limit. The legal limit (EPA MCL) is what matters for compliance; stricter advisory limits (like EWG’s) can flag something that’s still perfectly routine and legal. “Above the guideline” is not the same as “unsafe.”
(How to read your water quality report walks through the full logic on your free municipal report.)
When a lab test is non-negotiable
There are specific situations where a visual strip genuinely isn’t good enough, and you should go straight to a certified lab:
- Private well — no utility is testing it for you, and bacteria/heavy metals demand lab-grade sampling. Test annually at minimum.
- Infants or immunocompromised household members — nitrates and coliform bacteria become real risk factors, and only a lab quantifies them reliably.
- Known regional issue — if your area has a history of lead, arsenic, or PFAS, a targeted lab panel is the only way to get a precise level.
- You’re about to invest in treatment — a softener, whole-house filter, or RO unit should be sized and justified by lab-verified numbers, not a strip’s estimate.
In these cases, the extra cost of a lab panel is a rounding error compared to the cost of treating the wrong problem or missing a real one.
Cost expectations, honestly
- Hardness strips: $5–20, one-time (some multipacks).
- Titration kits: $15–50, reusable for multiple rounds.
- Multi-parameter strips: $10–40, covering a broader set of common parameters.
- Certified lab panels: $40–120 for basic packages (bacteria, nitrates, common metals), up to $200–300+ for comprehensive panels with PFAS and full heavy-metal screens.
For most municipal customers, the total spend should be under $30 — a strip plus a read of the free CCR. Wells are where the budget legitimately climbs, and there it’s money well spent.
The takeaway
If you remember one thing from this guide, make it this: test before you treat, and match the kit to the question. A hardness concern is a $10 strip; a safety concern is a certified lab; a taste concern is the right strip or your CCR. The wrong kit at any price is money wasted, and the right kit — even the cheapest one — is the difference between fixing your water and guessing at it.
Summing up the decision tree
To put the whole thing in one place, here’s the decision path compressed:
Municipal water + hardness question → read your free CCR, or use a $10 strip. You’re done.
Municipal water + safety or metals concern → a targeted test (lead if older plumbing, otherwise your CCR’s contaminant table) and, if anything is even close to a limit, a lab confirmation.
Private well → a certified lab panel, annually at minimum, twice a year if anything changes. This is non-negotiable, not a luxury — you are your own water utility, and strips cannot stand in for a proper microbial and metals screen.
About to spend on equipment → test first, regardless of source. A softener, filter, or RO unit sized and justified by real numbers beats one bought on a hunch every single time.
That’s the whole guide in four lines. Everything else expands on those four.
How to read a kit’s parameter list (without getting lost)
Every water test kit lists the “parameters” it covers, and that list is the single most important thing on the box — more than the brand, more than the price. Here’s how to decode it fast:
- Hardness-only — strips that show total hardness (in GPG or ppm). Perfect if hardness is literally your only question.
- Basic multi-panel — hardness plus pH, chlorine, maybe alkalinity and iron. The everyday household kit; covers the most common municipal and well parameters.
- Heavy metals — kits that specifically test lead, copper, and sometimes arsenic/mercury. Look for quantitative results (a number) rather than a presence/absence color, since these are the parameters you actually want a precise figure for.
- Bacteria — coliform and E. coli. Almost always requires a mail-in lab sample with sterile containers; be skeptical of any at-home visual “bacteria test” that promises otherwise.
- Full well panel — the lab-grade comprehensive test covering hardness, pH, metals, nitrates, and bacteria in one mail-in kit.
A kit that lists a parameter without telling you the method (visual strip vs. reagent vs. lab) is worth a second look — the method determines whether you’re getting an estimate or a quantified result. For the safety-critical stuff, insist on the lab method, not a color chart. (How to read your water quality report covers the same logic applied to your free municipal report.)
Bottom line
Water testing is cheap insurance and the correct first step — whether that’s a $10 hardness strip, a titration kit for precision, or a certified lab panel for a well. Match the kit to your water source and your question, test before you treat, and you’ll never buy equipment for a problem you don’t have.